基本照明プラン
Standard Lighting Plan- 表示価格は全て税抜きです。
全機材プラン
Rent-all Plan- 表示価格は全て税抜きです。
有償レンタル
Paid Rental- 表示価格は全て税抜きです。
背景布・ペーパー
Backdrops & Paper- 表示価格は全て税抜きです。
Standard Lighting Plan
基本照明プラン
~¥1,000 /h (excl. tax)
・プランご利用時に、機材を使用いただかなくとも課金対象となります。
・プラン以外の機材をご希望の場合、リスト上に表記されるレンタル料金(1回)が発生いたします。
・表記は消費税抜価格です。
・各種料金は予告なく変更する場合がございます。
Standard Lighting Equipment
Rent-all Plan
全機材プラン
~¥3,500 /h (excl. tax)
・カメラ・レンズ、バッテリーは有償レンタルとなります。予めご了承ください。
・プランご利用時に、機材を使用いただかなくとも課金対象となります。
・プラン以外の機材をご希望の場合、リスト上に表記されるレンタル料金(1回)が発生いたします。
・表記は消費税抜価格です。
・各種料金は予告なく変更する場合がございます。
Rent-all Equipment
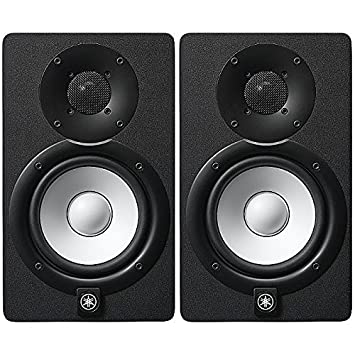
Yamaha HS Series Monitors
Ever since the 1970’s the iconic white woofer and signature sound of Yamaha’s nearfield reference monitors have become a genuine industry standard for a reason – their accuracy. Unlike studio monitors with added bass or treble frequencies which may sound more flattering at first, HS Series speakers were designed to give you the most honest, precise reference possible, providing an ideal sonic platform to build on throughout the mixing process. By combining acquired knowledge and expertise with state-of-the-art sound technologies, Yamaha’s speaker engineering team have examined, then optimized, every aspect that has contributed to making these monitors the most trusted in the business. The second generation HS Series also adds a new 6.5″ model to the lineup, bringing its exceptional accuracy to an even greater variety of recording environments.- Indie Filmmaking, Video Content Creation
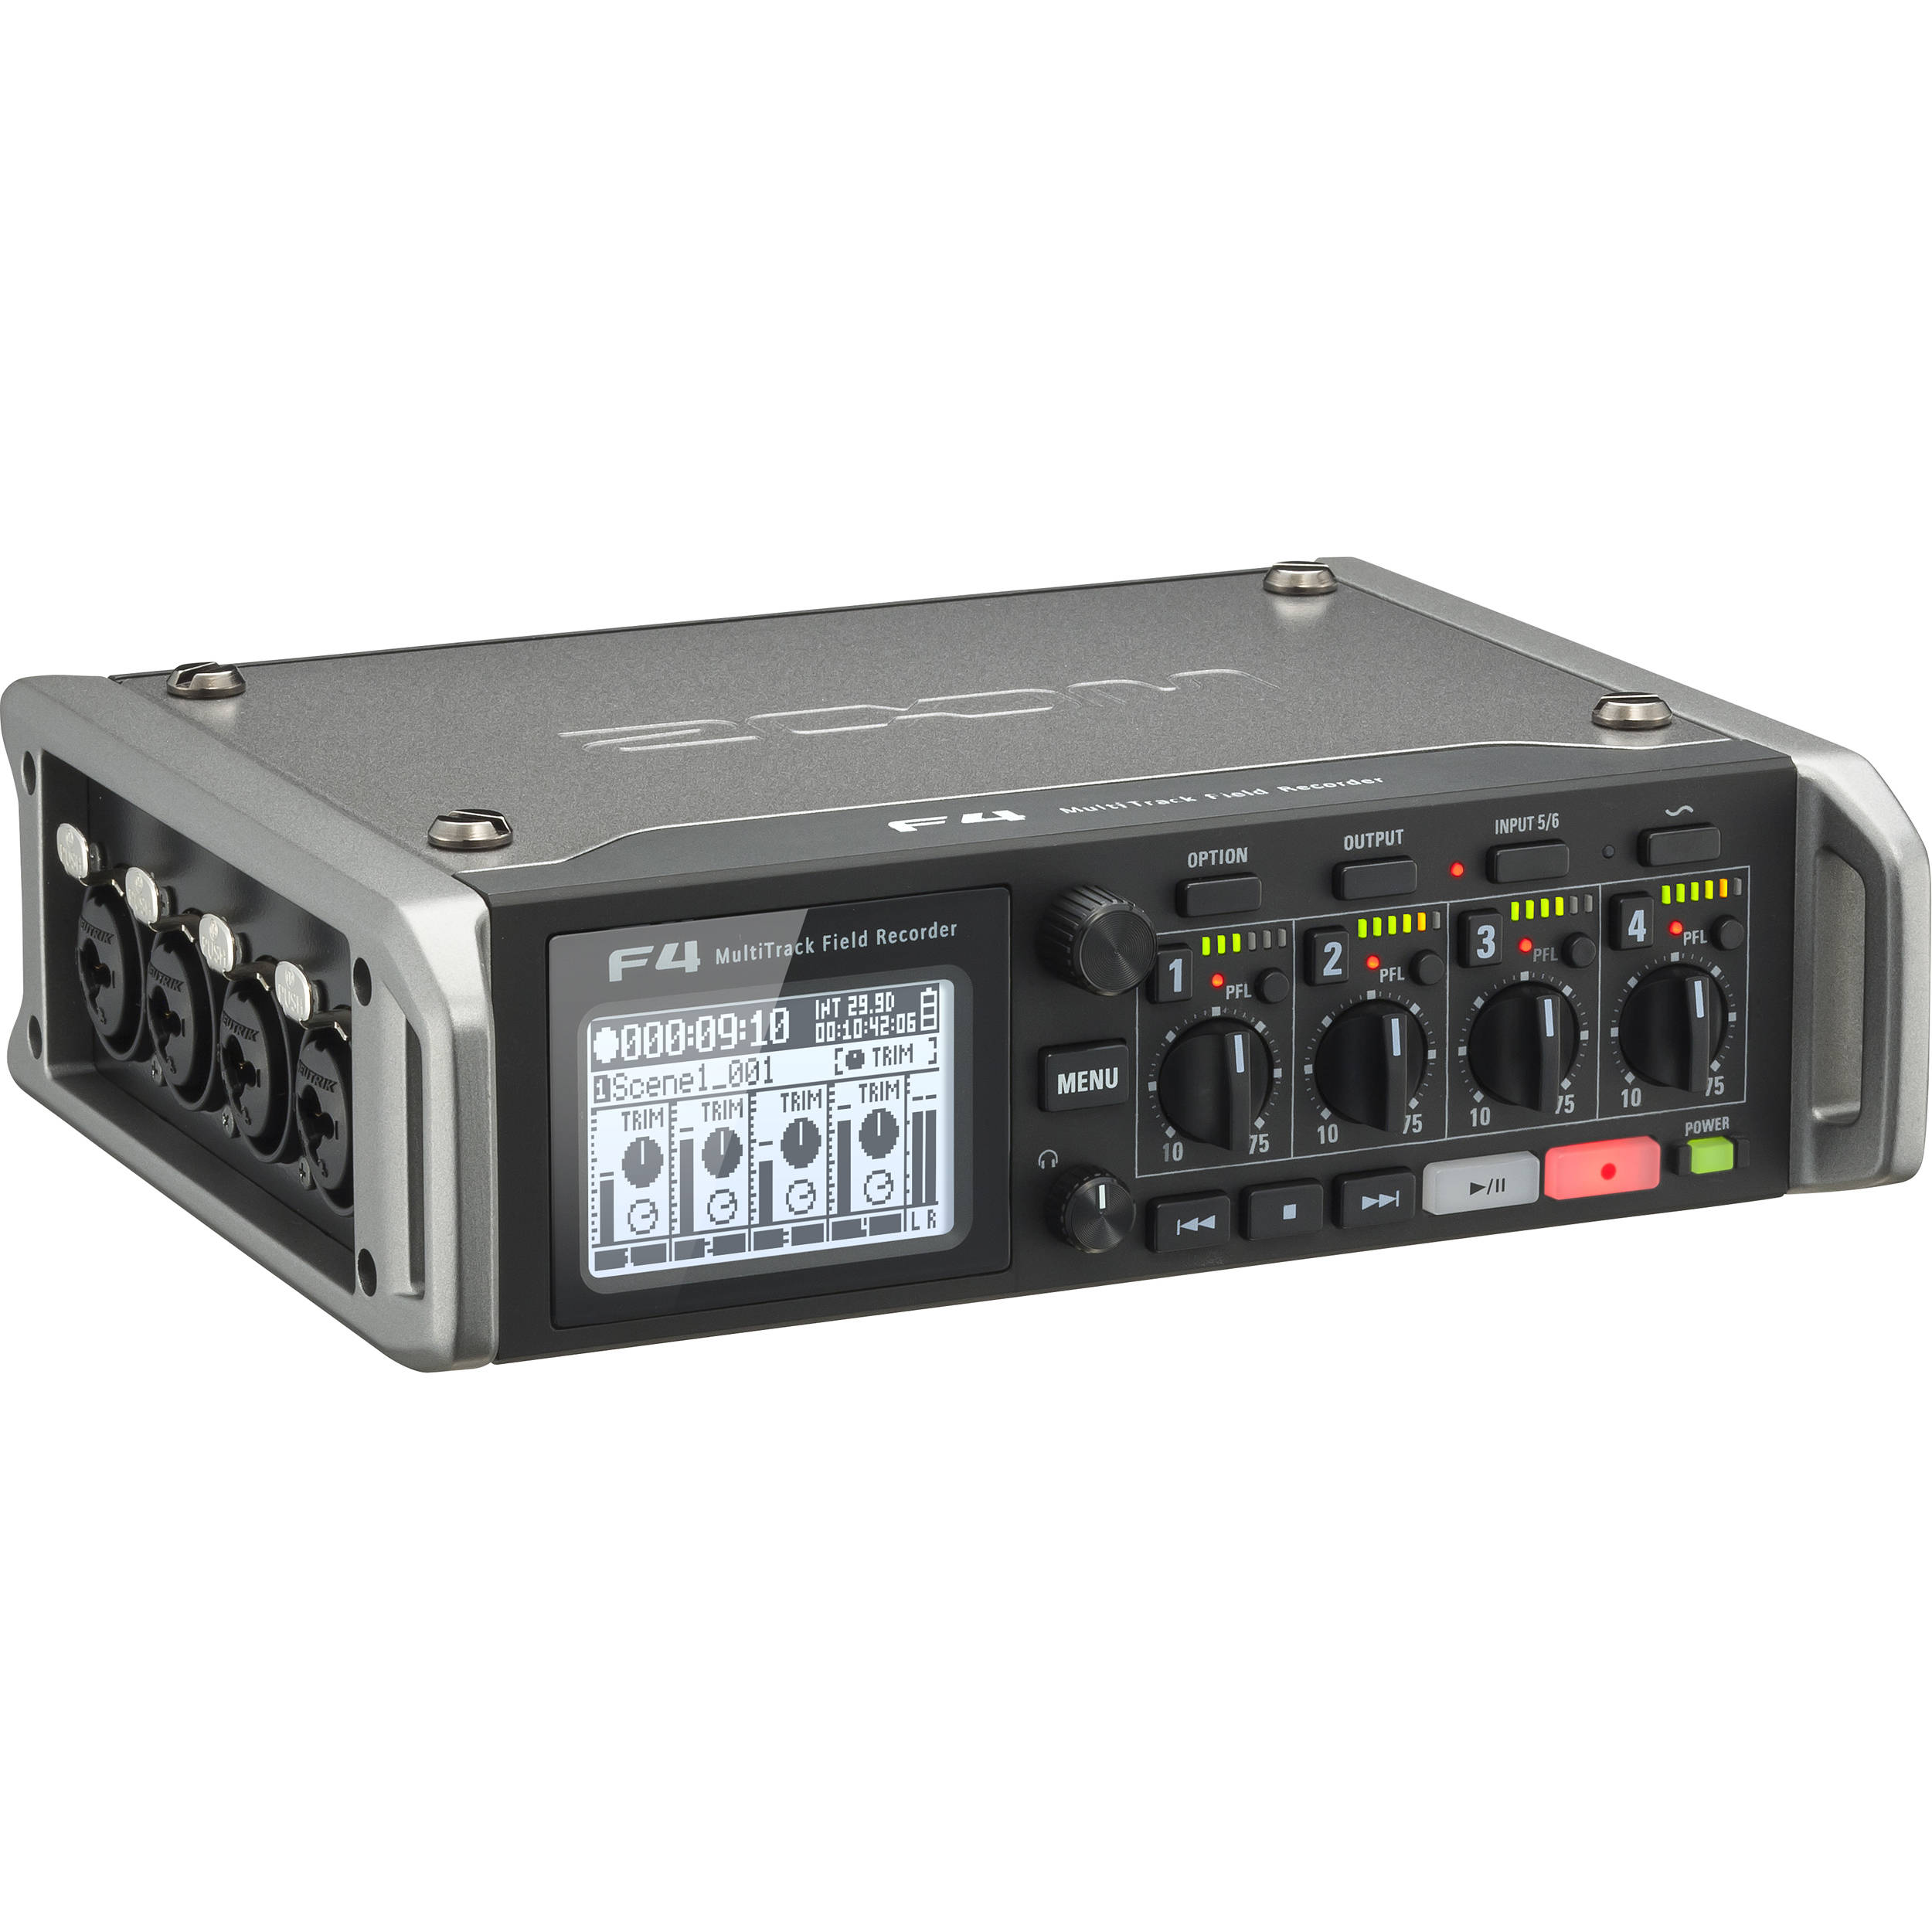
- Look-Ahead Limiters Prevent Clipping
- 4 x High-Gain, Low-Noise Mic Preamps
- Records 6 Inputs & Stereo Mix
- Ambisonics, WAV & MP3 Formats
- Compatible with Zoom Mic Capsules
- Flexible Powering Options
- Dual SD Card / USB Interface Recording
- AutoMix Software Reduces Mix Noise
- Precision Time Code Reader/Generator
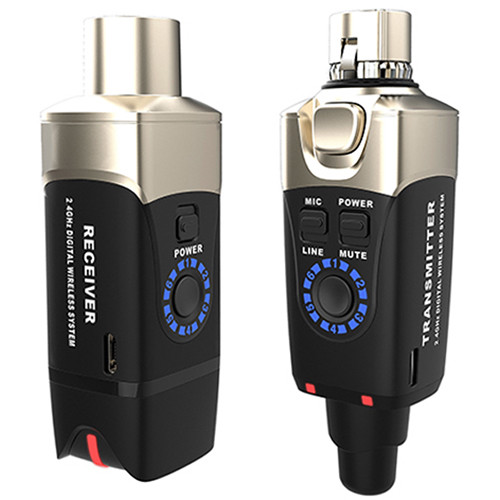
- For Dynamic Microphones
- Simultaneous Broadcasts on Six Channels
- 20 Hz - 20 kHz Frequency Response
- Up to 90' Range
Xvive Audio U3 Overview
Turn your dynamic microphone into wireless with the U3 2.4 GHz Digital Wireless Microphone System from Xvive Audio. It features a 2.4 GHz wireless band, 20 Hz to 20 kHz frequency response, and less than 5 ms latency. The system works up to a 90' range, and includes two rechargeable batteries with a five-hour life for both receiver and transmitter units. The transmitter plugs into a dynamic microphone or into DI or XLR output gear, and the receiver plugs into a live sound mixer, portable PA system, or a recorder. This system broadcasts on six channels simultaneously, and is suitable for live vocals, presentations, video productions, and houses of worship.Professional Sound Quality
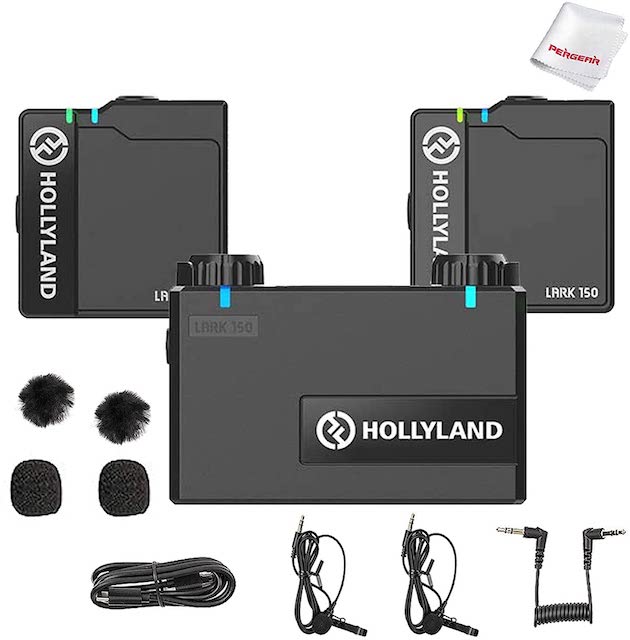
Stable Wireless Audio Transmission
Mono/Stereo/Safety Output Modes
- Mono: Record a single microphone to both audio tracks in your camera or phone
- Stereo: Record two mics, with each on a separate track
- Safety: Record a single mic at a lower level on a separate track as a backup if main track is too loud
Ultracompact Construction
Additional Features
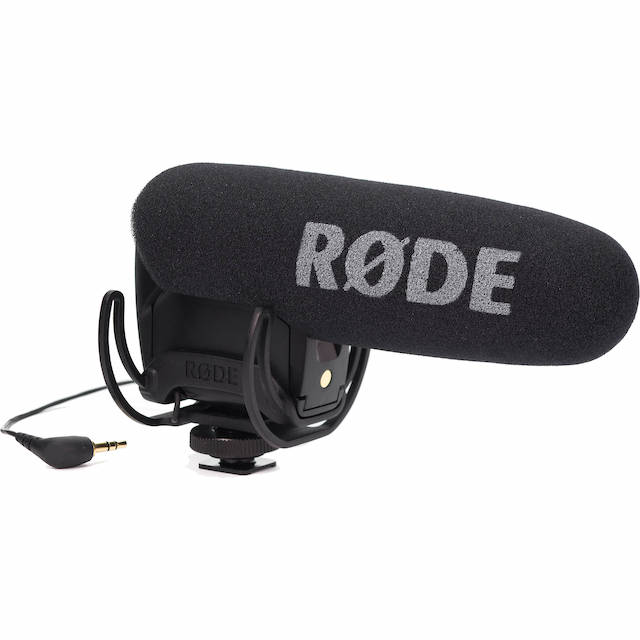
- Rycote® Lyre® shock mounting onboard
- All-new capsule with lower noise and higher sensitivity
- Broadcast recording quality condenser microphone
- Compact form factor (150mm/6” length)
- Ultra lightweight (85g/3oz)
- 9V battery powered - over 70 hours use (alkaline)
- Integrated shock mounting
- Integrated foam windscreen
- 3.5mm stereo mini-jack output (dual mono)
- Two step High Pass Filter (flat, 80Hz)
- Three position level control (-10dB, 0, +20dB)
- Camera shoe mount with 3/8” thread for easy boompole mounting
- 10 year extended warranty when you register your microphone
| Acoustic Principle | Line Gradient |
| Active Electronics | JFET impedance converter |
| Capsule | 0.50" |
| Address Type | End |
| Frequency Range | 40Hz - 20kHz (selected HPF @80) |
| Output Impedance | 200Ω |
| Maximum SPL | 134dBSPL |
| Maximum Output Level | 6.9mV (@ 1kHz, 1% THD into 1KΩ load) |
| Sensitivity | -32.0dB re 1 Volt/Pascal (20.00mV @ 94 dB SPL) +/- 2 dB @ 1kHz |
| Equivalent Noise Level (A-weighted) | 14dBA |
| Weight | 85g |
| Dimensions | 100mmH x 75mmW x 170mmD |
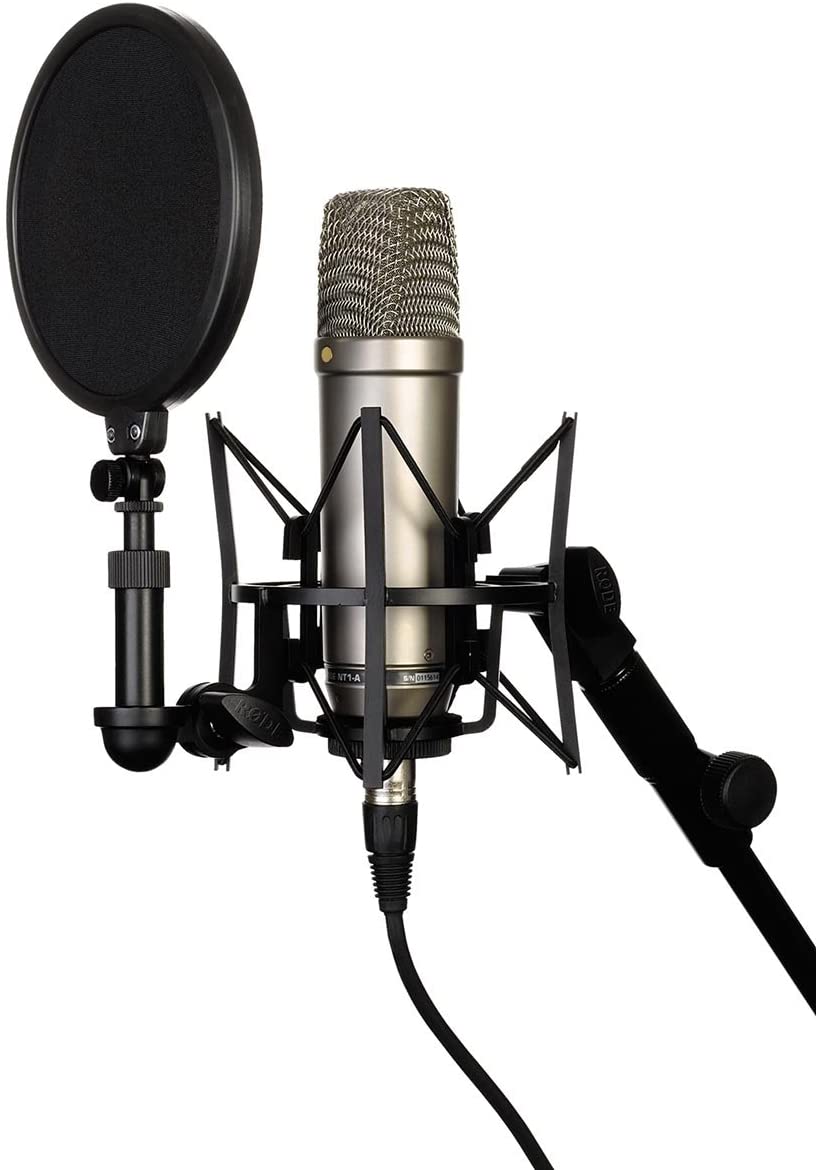
he RØDE NT1-A 1 inch cardioid condenser microphone has become an industry standard; delivering the warmth, extended dynamic range, clarity and high SPL capability typically only featured on some of the world’s most expensive microphones. With a self-noise level of only 5dBA it is widely recognised (along with the NT1) as one the world's quietest studio microphones. This low noise makes it an ideal for vocal microphone as well as perfect for recording guitars and percussion.
Packaged in the 'Complete Vocal Recording Solution', the NT1-A includes everything you need to get a truly professional vocal recording and is ideal for home studio recording. A studio grade pop shield and shock mount is included, along with a premium 20-feet microphone cable, dust cover, and an instructional DVD packed with recording tips. The RØDE NT1-A large diaphragm 1 inch cardioid condenser microphone is designed and made in Australia, and covered by RØDE Microphones' industry leading 10 year warranty.
Paid Rental Equipment
有償レンタル機材
¥3,000~/day (excl. tax)
・機材を予約されますと、ご使用いただかなくとも課金対象となります。
・リスト上に表記されるレンタル料金(1回)が発生いたします。
・表記は消費税抜価格です。
・各種料金は予告なく変更する場合がございます。
Paid Equipment Rental
Backdrops & Background Paper
背景布・ペーパー
¥4,000~/day (excl. tax)
・料金にはセットアップも含まれております。
・予約されますと、ご使用いただかなくとも課金対象となります。
・リスト上に表記されるレンタル料金(1回)が発生いたします。
・表記は消費税抜価格です。
・各種料金は予告なく変更する場合がございます。
Backdrops
How to use the Pholsy Universal Wireless Flash Trigger
Pholsyユニバーサルワイヤレスフラッシュトリガーの使用方法
Pholsyトランスミッターとカメラのセットアップ
- Pholsyトランスミッターをカメラのホットシューマウントにスライドさせます。
- ロックリングをきつくなるまで回してください。
- カメラ、トランスミッターの順に電源を入れ、撮影モードをマニュアルに設定します。
- トランスミッターがチャンネル1であることを確認します。
Pholsyトランスミッターでスタジオ照明のセットアップ
- すべての照明がチャンネル1にあることを確認してください。
- 次に、どのライトをメインまたは「マスター」ライトにするかを決定する必要があります。
- 次に、S1/S2 ボタンを1回押して、他のライトを「スレーブ」モードに設定します。(これは、選択した「マスター」ライトのタイミングに合わせて消灯することを意味します)。
- 3.5mmミニジャックを受信機のFLASHポートに接続し、オンになっていることを確認します。
- ミニジャックのもう一方の端を、「マスター」ライトの背面にあるSYNCポートに接続します。*接続したまま、受信機を背面からぶら下げることができます。
[注意】ポートに入らない場合は、間違ったケーブルを使用している可能性があります。ポーチの中に見当たらない場合は、スタッフにお尋ねください。
セットアップのテスト
両方の手順が完了したら、カメラに戻って送信機のTESTボタンを押してください。すべてのライトが同時に消灯するはずです。その後、通常通りカメラを使用することができるはずです。
上記の手順をすべて完了しても、ライトが同時に消灯しない場合は、スタッフにご相談ください。
Setup the camera with Pholsy Transmitter
- Slide the Pholsy transmitter into the camera’s hot shoe mount.
- Turn the locking ring until tight.
- Turn on the camera, then transmitter; set the shooting mode to Manual.
- Confirm that the transmitter is on Channel 1.
Setup the studio lights with Pholsy Transmitter
- Make sure that all lights are on Channel 1.
- Next you need to decide which will be the main or “master” light.
- Then set the other lights to “slave” mode by pressing the S1/S2 button once. (This means they will go off to the timing of the “master” light you selected.)
- Connect the 3.5 mm mini-jack into the FLASH port on the receiver and make sure it is on.
- Connect the other end of the mini-jack into the SYNC port on the back of the “master” light. *You can just let the receiver hang off the back while it’s connected.
[Keep in mind] If it’s not going in the port, you may be using the wrong cable. Check the pouch, it should be there. If not, please ask one of the staff.
Test the setup
After you’ve completed both steps, go back to your camera and hit the TEST button on the transmitter. All lights should go off at the same time. Then you should be able to use the camera like normal.
If you’ve completed all the steps above, and the lights are still not going off together, please ask one of our staff for further assistance.

