
基本照明プラン
Standard Lighting Plan- 表示価格は全て税抜きです。
全機材プラン
Rent-all Plan- 表示価格は全て税抜きです。
有償レンタル
Paid Rental- 表示価格は全て税抜きです。
背景布・ペーパー
Backdrops & Paper- 表示価格は全て税抜きです。
Standard Lighting Plan
基本照明プラン
~¥1,000 /h (excl. tax)
・プランご利用時に、機材を使用いただかなくとも課金対象となります。
・プラン以外の機材をご希望の場合、リスト上に表記されるレンタル料金(1回)が発生いたします。
・表記は消費税抜価格です。
・各種料金は予告なく変更する場合がございます。
Standard Lighting Equipment
Rent-all Plan
全機材プラン
~¥3,500 /h (excl. tax)
・カメラ・レンズ、バッテリーは有償レンタルとなります。予めご了承ください。
・プランご利用時に、機材を使用いただかなくとも課金対象となります。
・プラン以外の機材をご希望の場合、リスト上に表記されるレンタル料金(1回)が発生いたします。
・表記は消費税抜価格です。
・各種料金は予告なく変更する場合がございます。
Rent-all Equipment
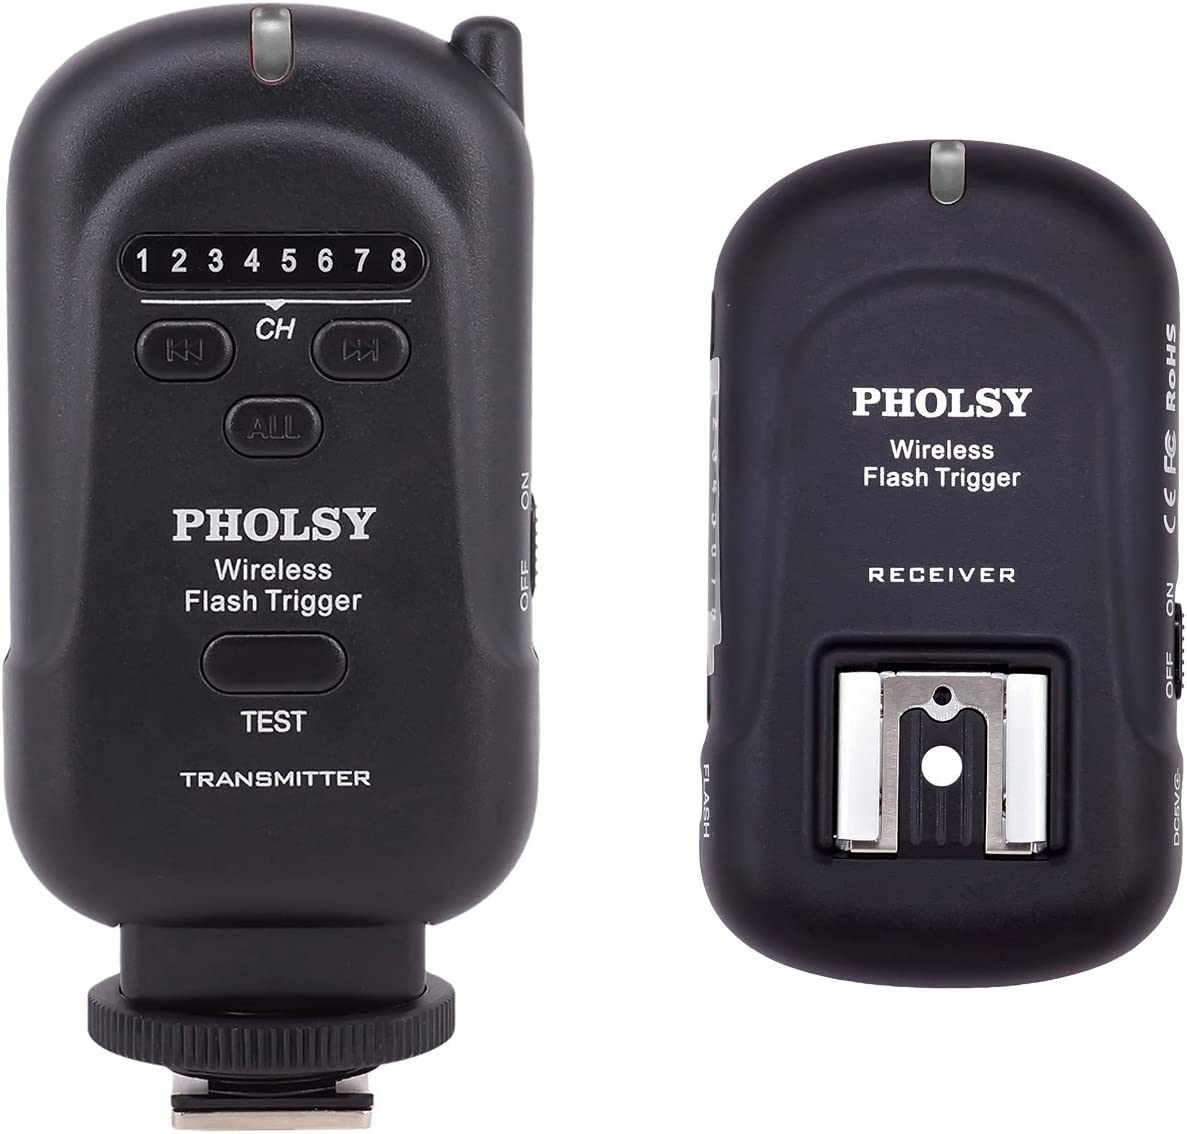
- 2.4GHz frequency, 8 channels. Range: up to 650' / 200m, max sync speed of 1/250s
- ✔ Compatible with all most hot shoe flashes, all ISO hot shoe flashes(except Sony flashes)
- ✔ Internal antenna and LED indicators,easy to set
- ✔ The rotating Transmitter can be used upright or in the low-profile down position
- ✔ Package includes: Transmitter x 1, Receiver x 1, 3.5 to 3.5mm sync cable x 1, 3.5mm to PC plug cable x 1, 1/4" mono plug socket x 1, Lanyards x2, Carrying pouch x 1.
Paid Rental Equipment
有償レンタル機材
¥3,000~/day (excl. tax)
・機材を予約されますと、ご使用いただかなくとも課金対象となります。
・リスト上に表記されるレンタル料金(1回)が発生いたします。
・表記は消費税抜価格です。
・各種料金は予告なく変更する場合がございます。
Paid Equipment Rental
- 2.4GHz frequency, 8 channels. Range: up to 650' / 200m, max sync speed of 1/250s
- ✔ Compatible with all most hot shoe flashes, all ISO hot shoe flashes(except Sony flashes)
- ✔ Internal antenna and LED indicators,easy to set
- ✔ The rotating Transmitter can be used upright or in the low-profile down position
- ✔ Package includes: Transmitter x 1, Receiver x 1, 3.5 to 3.5mm sync cable x 1, 3.5mm to PC plug cable x 1, 1/4" mono plug socket x 1, Lanyards x2, Carrying pouch x 1.
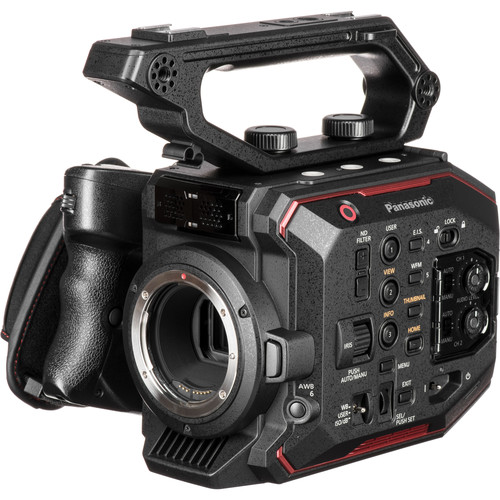
5.7K Sensor
Dual Native ISO
V-Log and V-Gamut Capture
Native EF Lens Mount
Electronic Image Stabilization
Integrated Motorized Filters
SD Card Recording
Recording Modes
I/O
Included Battery and Charger
Built-In Monitoring Tools
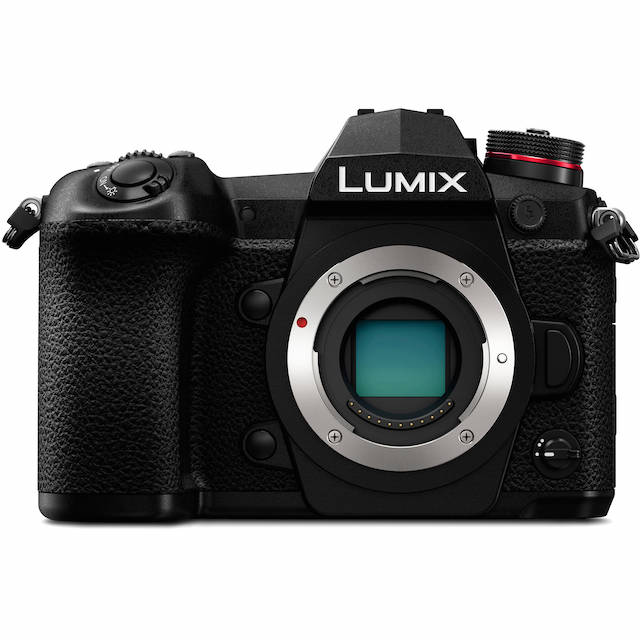
20.3MP Digital Live MOS Sensor and Venus Engine
UHD 4K Video Recording
6K and 4K PHOTO
- Burst: This mode will allow you to continuously record, making it ideal for instances where you need a fast frame rate in order to capture the best moment.
- Pre-Burst: This mode is ideal for times when you're unsure of the critical moment to press the shutter button and will record images one second prior to and one second after pressing the shutter button in order to give you 60 frames to choose from.
- Burst (S/S): This mode most closely follows the video recording process, and allows you to playback your video, pause at the chosen moment, and use the shutter button to mark a chosen frame from the video and save it as a single 8 or 18MP frame.
Dual I.S. 2
Body Design and Built-In Wi-Fi
- A large OLED Live View Finder has an impressive 3.86m-dot resolution and 0.83x magnification for eye-level composition. This viewfinder also has a maximum refresh rate of 120 fps for clear, lag-free imagery.
- A larger means for image composition and playback, the 3.0" 1.04m-dot rear LCD monitor has a free angle, tilt and swivel design to support viewing from a variety of angles. It is also a touchscreen, which permits intuitive menu navigation and settings control.
- A backlit top status LCD provides immediate access to current settings without needing to raise the camera to eye level.
- Dual UHS-II SD card slots are present, which provides settings such as Relay Recording to automatically switch cards when one is full; Backup Recording, which records the same data to both cards simultaneously; and Allocation Recording, which lets you save certain files to each card for easier organization.
- Constructed from magnesium alloy with a die-cast frame, the G9 features a durable design that also incorporates extensive sealing at each joint, dial, and button to render it both splash- and dust-proof as well as freezeproof to 14°F.
- A joystick is available on the rear of the camera to make changing many settings easier and more intuitive, such as changing a focus point.
- The sleek flat-body profile incorporates both front and rear dials for intuitive control over aperture and shutter speed settings. Multiple assignable function buttons are also available, including a function lever.
- Built-in 5 GHz Wi-Fi connectivity with NFC and Bluetooth 4.2 Low Energy allows for wireless image sharing and remote camera control from linked smartphones and tablets. Bluetooth LE also enables a constant connection to your mobile device, allowing for functions such as geolocation and automatic image transfer.
225-Area Advanced Depth-From-Defocus AF System
80MP High Resolution Mode
Other Camera Features
- A mechanical focal plane shutter enables a fast maximum shutter speed of 1/8000 sec, as well as a top flash sync speed of 1/250 sec. An electronic shutter function also avails a top shutter speed of 1/32,000 sec to better enable working in bright conditions and with wider aperture settings. This shutter is rated for approximately 200,000 actuations.
- A Night Mode will automatically adjust brightness of the EVF and LCD for comfortable viewing in low-light conditions.
- An optional external USB power pack can be used to supply power to the camera via its micro-USB port.
- Depending on the lens in use, the included DMW-BLF19 battery provides approximately 380 shots per charge when using the rear monitor, or 360 with the electronic viewfinder.
- Photo Style modes: Standard, Vivid, Natural, Monochrome, L. Monochrome, Scenery, Portrait, Custom, Cinelike D, and Cinelike V.
- Creative Control modes: Expressive, Retro, Old Days, High Key, Low Key, Sepia, Monochrome, Dynamic Monochrome, Rough Monochrome, Silky Monochrome, Impressive Art, High Dynamic, Cross Process, Toy Effect, Toy Pop, Bleach Bypass, Miniature Effect, Soft Focus, Fantasy, Star Filter, One Point Color, and Sunshine.
Key Features
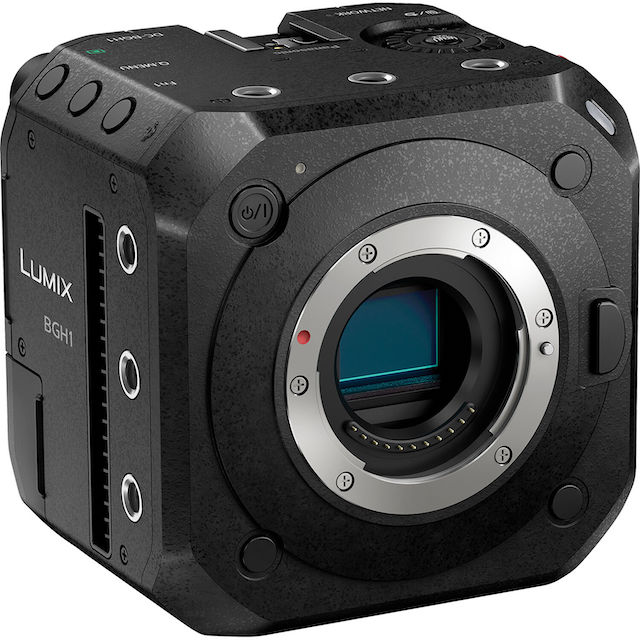
- M4/3 10.2MP MOS sensor
- Anamorphic video support
- MFT lens mount
- 13 stops of dynamic range
- Dual native ISO
- Lightweight at 1.2 lb
- Internal fan to keep camera cool
- Measures less than 4" square for lightweight applications on drones or gimbals
- HDMI 2.0 and 3G-SDI video outputs
- Record up to 4K60 10-bit 4:2:2 to SD cards or HDMI/3G-SDI outputs simultaneously
- Unlimited recording time
- USB 3.1 Gen 1 Type-C input for control with LUMIX Tether app
- 2.5mm LANC input for camera control
- Gigabit Ethernet via RJ45 for remote control and PoE+ power support
- Direct IP streaming with a future firmware update
- Wi-Fi and Bluetooth support to control the camera using a smartphone or tablet
- Integrated stereo microphone, 3.5mm mic input, and 3.5mm headphone output
- The optional DMW-XLR1 XLR adapter can be installed using the camera's hot shoe
- Four programmable Fn buttons
- Tally lights on front and rear
- Genlock BNC input/output
- Timecode BNC input/output
- Dual SD card slots
- Included 12 VDC power adapter
- Integrated VBR battery mount
- Cable lock
Backdrops & Background Paper
背景布・ペーパー
¥4,000~/day (excl. tax)
・料金にはセットアップも含まれております。
・予約されますと、ご使用いただかなくとも課金対象となります。
・リスト上に表記されるレンタル料金(1回)が発生いたします。
・表記は消費税抜価格です。
・各種料金は予告なく変更する場合がございます。
Backdrops
How to use the Pholsy Universal Wireless Flash Trigger
Pholsyユニバーサルワイヤレスフラッシュトリガーの使用方法

¥500/day(税抜)
照明プランをお使いいただく際、フラッシュトリガーをお持ちでなければ、ワイヤレストリガーのご利用をお勧め致します。
ご利用の際にはスタッフまでお声がけ下さい。
If you do not have a flash trigger when using any studio lights, we recommend using a wireless trigger.
Please ask our staff if you wish to use this device.
Pholsyトランスミッターとカメラのセットアップ
- Pholsyトランスミッターをカメラのホットシューマウントにスライドさせます。
- ロックリングをきつくなるまで回してください。
- カメラ、トランスミッターの順に電源を入れ、撮影モードをマニュアルに設定します。
- トランスミッターがチャンネル1であることを確認します。
Pholsyトランスミッターでスタジオ照明のセットアップ
- すべての照明がチャンネル1にあることを確認してください。
- 次に、どのライトをメインまたは「マスター」ライトにするかを決定する必要があります。
- 次に、S1/S2 ボタンを1回押して、他のライトを「スレーブ」モードに設定します。(これは、選択した「マスター」ライトのタイミングに合わせて消灯することを意味します)。
- 3.5mmミニジャックを受信機のFLASHポートに接続し、オンになっていることを確認します。
- ミニジャックのもう一方の端を、「マスター」ライトの背面にあるSYNCポートに接続します。*接続したまま、受信機を背面からぶら下げることができます。
[注意】ポートに入らない場合は、間違ったケーブルを使用している可能性があります。ポーチの中に見当たらない場合は、スタッフにお尋ねください。
セットアップのテスト
両方の手順が完了したら、カメラに戻って送信機のTESTボタンを押してください。すべてのライトが同時に消灯するはずです。その後、通常通りカメラを使用することができるはずです。
上記の手順をすべて完了しても、ライトが同時に消灯しない場合は、スタッフにご相談ください。
Setup the camera with Pholsy Transmitter
- Slide the Pholsy transmitter into the camera’s hot shoe mount.
- Turn the locking ring until tight.
- Turn on the camera, then transmitter; set the shooting mode to Manual.
- Confirm that the transmitter is on Channel 1.
Setup the studio lights with Pholsy Transmitter
- Make sure that all lights are on Channel 1.
- Next you need to decide which will be the main or “master” light.
- Then set the other lights to “slave” mode by pressing the S1/S2 button once. (This means they will go off to the timing of the “master” light you selected.)
- Connect the 3.5 mm mini-jack into the FLASH port on the receiver and make sure it is on.
- Connect the other end of the mini-jack into the SYNC port on the back of the “master” light. *You can just let the receiver hang off the back while it’s connected.
[Keep in mind] If it’s not going in the port, you may be using the wrong cable. Check the pouch, it should be there. If not, please ask one of the staff.
Test the setup
After you’ve completed both steps, go back to your camera and hit the TEST button on the transmitter. All lights should go off at the same time. Then you should be able to use the camera like normal.
If you’ve completed all the steps above, and the lights are still not going off together, please ask one of our staff for further assistance.